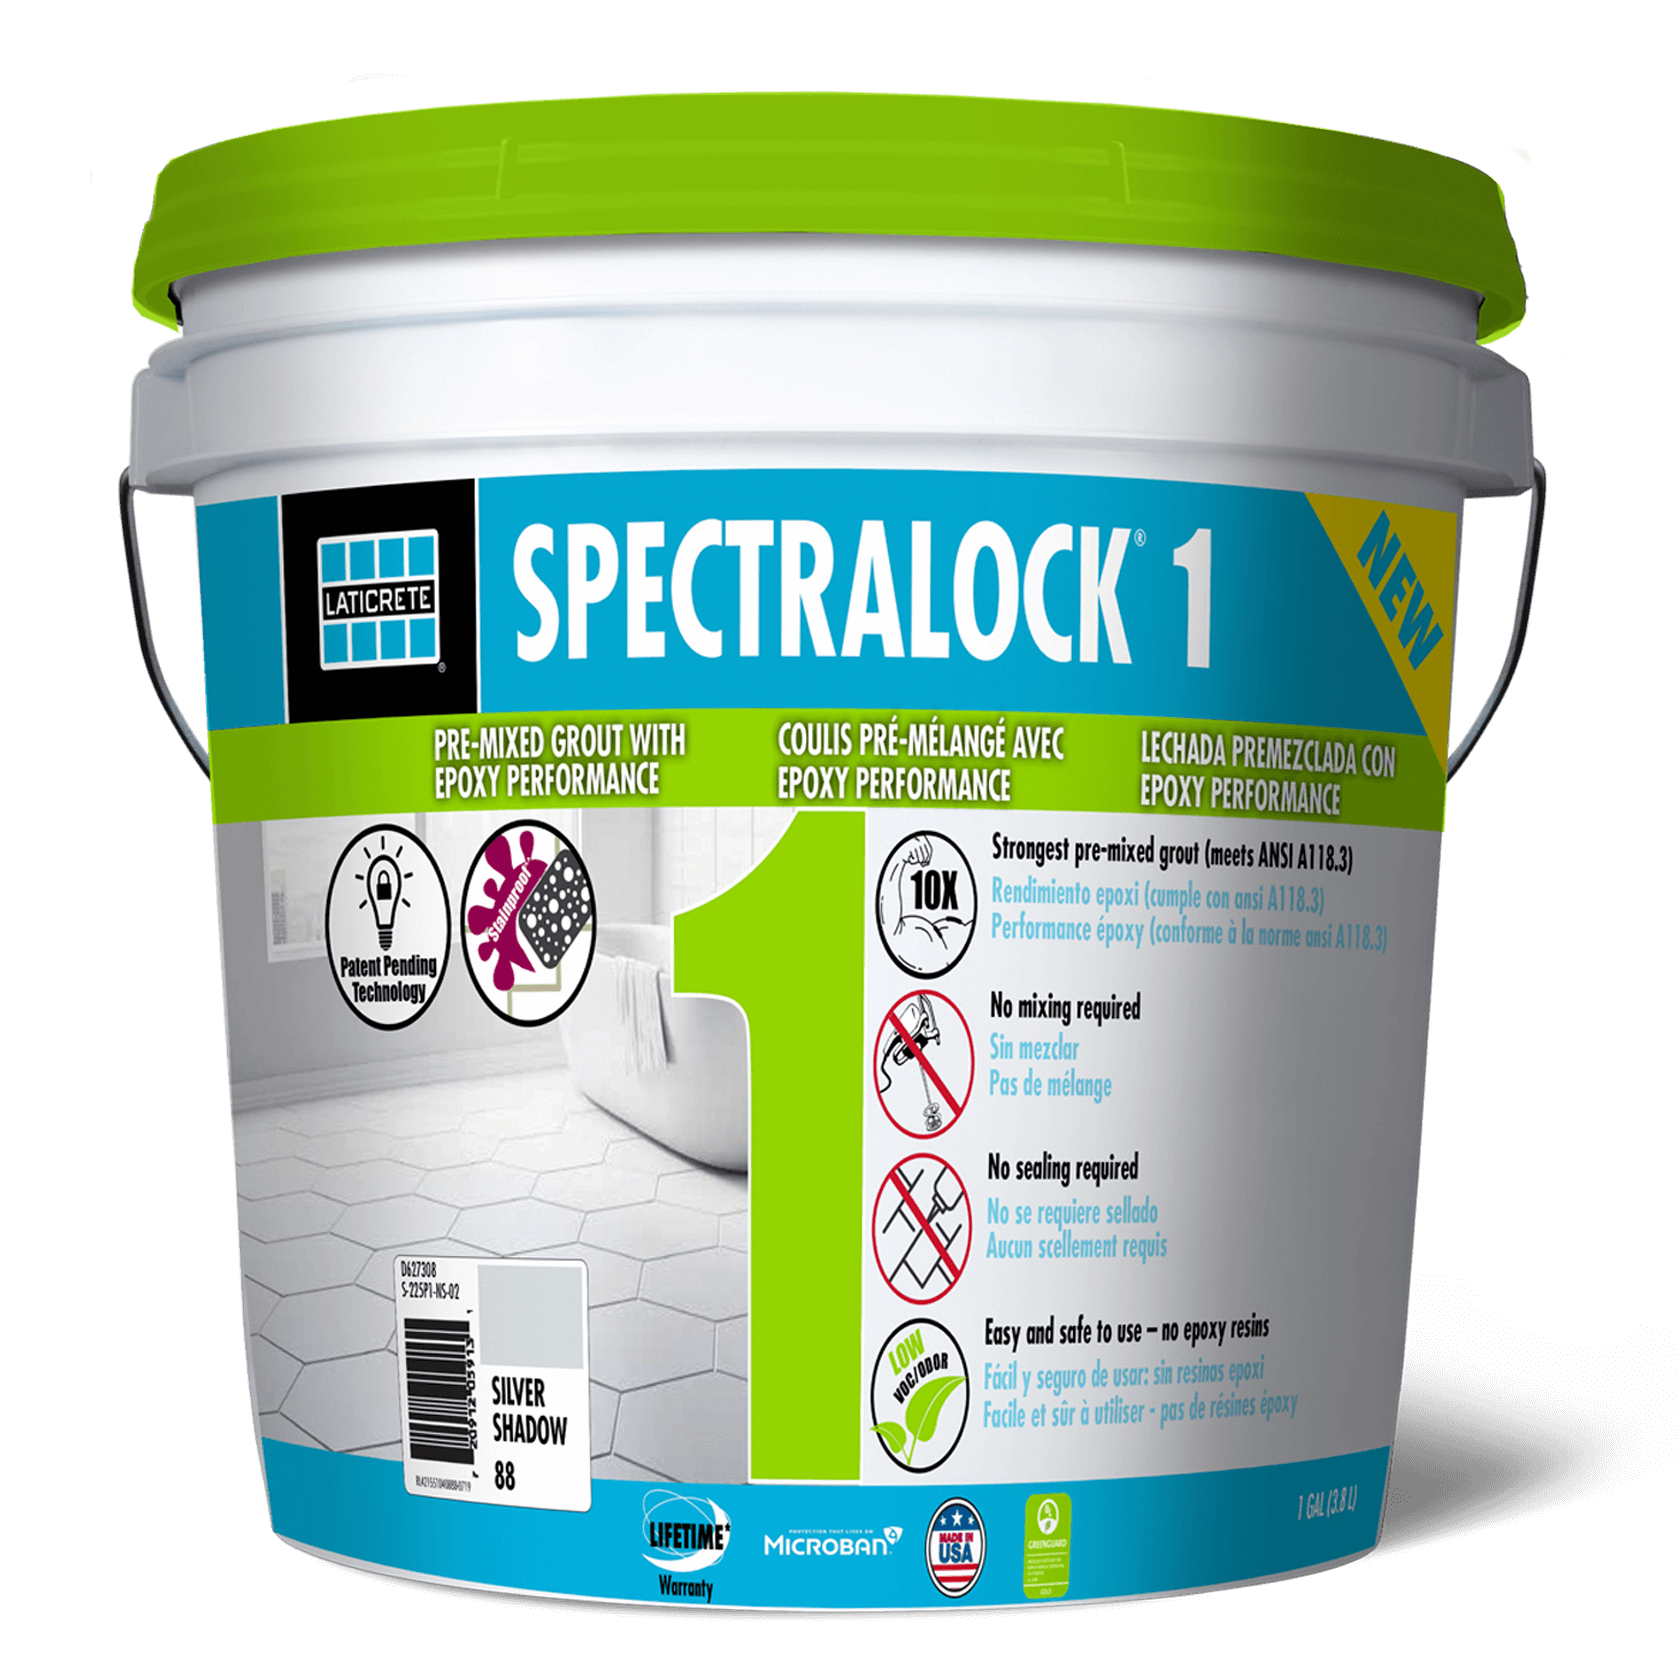
Installation Video
View the Mobile Video
PDF Instructions
Download the DS-638.5 Installation Instruction PDF.
Installation Instructions
Easy to Install, Easy to Clean-Up! LATICRETE® SpectraLOCK®* Grout installs as easily as regular cement grout but provides the color uniformity, stain protection and durability you can only get with an epoxy. LATICRETE SpectraLOCK Grout can be used for interior or exterior applications on floors and walls.
Before you Begin
Follow adhesive manufacturer's recommendations for minimum cure time prior to grouting.
LATICRETE SpectraLOCK Grout is a sanded grout. Use of sanded grouts in joints less than 1/8" (3 mm) will result in a coarser surface texture as compared to wider joints.
For more detailed product installation instructions and limitations refer to Data Sheet DS-638.5 (Multi-Language).
STEP 1 - Supplies
HAVE THE FOLLOWING ITEMS AVAILABLE BEFORE GROUTING:

- Broom / Vacuum (To remove debris)
- Utility Knife (To remove excess thin-set in joints and open pouches)
- Clean Water and Sponges (To clean surface of tile)
- Firm edged, rubber epoxy grout float
- Margin Trowel
- Low Speed Drill and Grout Mix Paddle (Optional)
- Extra Sponges (For floor installation)
- Terry Cloth Towels (Optional for wall clean up)
- Empty Pails
- White Vinegar
- Scrub Pads
- Fresh Water Supply
STEP 2 - Surface Preparation
- Ensure the tile surface has no residual film from adhesive setting material.
- LATICRETE® SpectraLOCK Grout®*, as well as other sanded grouts, may “scratch” glass tiles, soft or polished marble and stone, soft glazed and handmade tiles. Test grout on a small area to ensure compatibility.
- Make sure tile surface and open grout joints are clean, and free from debris, grout spacers or standing water.
STEP 3 - Mixing the Grout
- Cut open Part A and B pouches, and squeeze the liquids (A first, then B) into a clean pail.

- IMPORTANT: MAKE SURE TO SQUEEZE ALL THE LIQUIDS OUT OF THE POUCHES.
- TIP: Fold pouches in half and rollup like a toothpaste tube.
- To remove any remaining liquid, fold pouch in half from top to bottom, drape the folded pouch over the edge of the pail and squeeze out liquids against the inside of the pail.
- Mix liquids thoroughly, completely incorporating all liquid from sides and bottom of pail. Mix with a margin trowel or slow speed drill mixer (< 300 RPM).
- Once blended, add Part C color powder to blended A and B liquids and mix thoroughly with margin trowel or slow speed drill mixer (< 300 RPM). The LATICRETE SpectraLOCK Grout unit is designed to use all the Part C color powder for most applications. For narrow joints, it is acceptable to leave out up to 10% Part C color powder to produce a more fluid mix.

STEP 4 - Grouting
- After surfaces are cleaned, allow to dry thoroughly before grouting.
- Spread grout using a sharp edged, firm epoxy rubber float. Work the grout diagonally across the joints, packing them full.

- "Cut" excess grout off the tile surface using the edge of the float held at a 90° angle like a squeegee, stroking diagonally to avoid pulling grout out of filled joints.
STEP 5 - Initial Wash
Floor & Wall Applications:
- TIP: Have vinegar/water mixture and clean sponge ready.
- Once grout has been spread, wait 20–30 minutes before cleaning (or within one hour of initial mixing of product). Wait longer at colder temperatures. Add approximately 1/2 cup (0.12 l) of pure white vinegar to 2 gallons (7.6 l) of clean water and mix together thoroughly. Submerge clean sponge into water and wring until damp. Change vinegar/water mixture every 50 ft2 (4.7 m2) when using multiple units.
- Wipe grout joints and tile surface in a light circular motion, loosening grout residue while making the joints smooth.

- Drag a clean sponge diagonally over the scrubbed surfaces to remove grout residue. Rinse sponge after every pass; use each side of sponge only once between rinsing.
Wall Applications:
- If grout bleeds or sags out of joint, stop immediately and wait an additional 15 minutes for grout to firm up before washing. Or you may add more Part C color powder if you held some back.
STEP 6 - Final Inspection & Cleaning
- Begin final cleaning approximately one hour after initial wash has taken place. Prepare another 2 gallons (7.6 l) of clean water and 1/2 cup (0.12 l) of pure white vinegar and mix together thoroughly.
- Follow the same process as the initial wash but use a clean white scrub pad in place of a sponge to break apart any leftover residue. Rinse scrub pad frequently.
- Then, drag a clean sponge diagonally over the scrubbed surfaces to remove froth and residue. Use each side of sponge only once before rinsing and change vinegar/water mixture at least every 50 ft2 (4.7 m2) when using multiple units.
- Allow cleaned areas to dry and inspect tile/stone surface. For persistent grout film/haze (within 24 hours), scrub area with mixture of 2 gallons clean water and 1/2 cup (0.12 l) white vinegar. Test stone for compatibility with water/vinegar cleanup mixture.
- Protect finished surface from traffic for at least 12 hours at 70°F (21°C).
- Allow grout to cure for 10 days at 70°F (21°C) prior to use in submerged applications or steam rooms. See LATICRETE Technical Data Sheet 192 for more information.